An Easy DIY Flower Hoop Wreath
A little DIY project
To bring a fresh look to your home, make a beautiful unique flower hoop wreath. It’s such a versatile decor item which you can hang against any wall in any room
Lets Get Creative
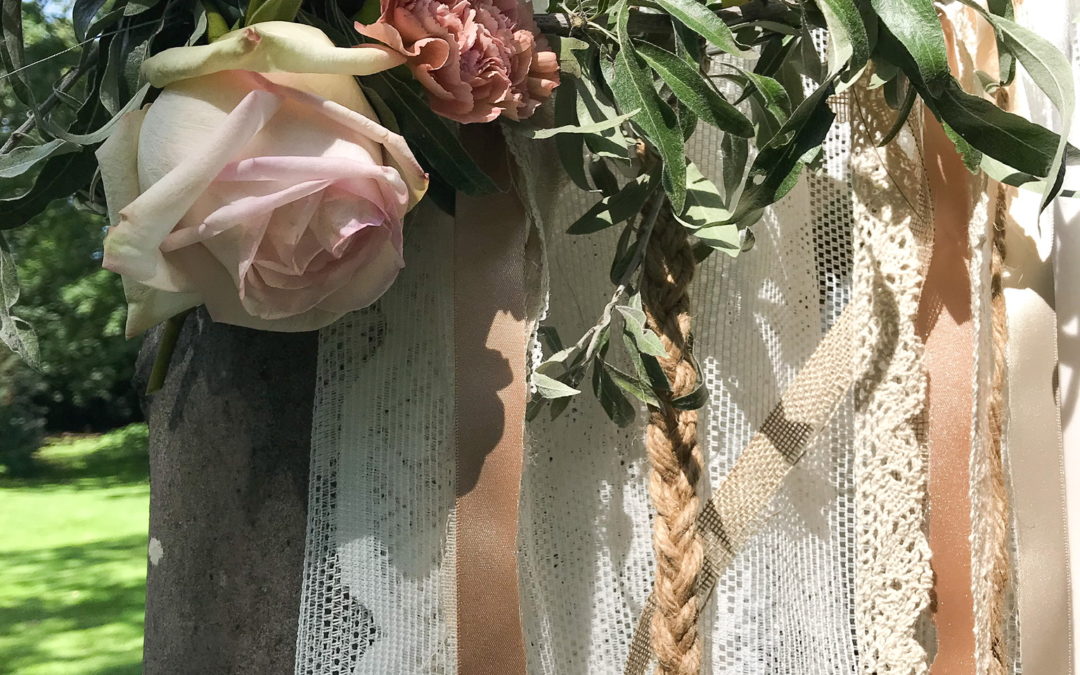
Pretty Ribbon
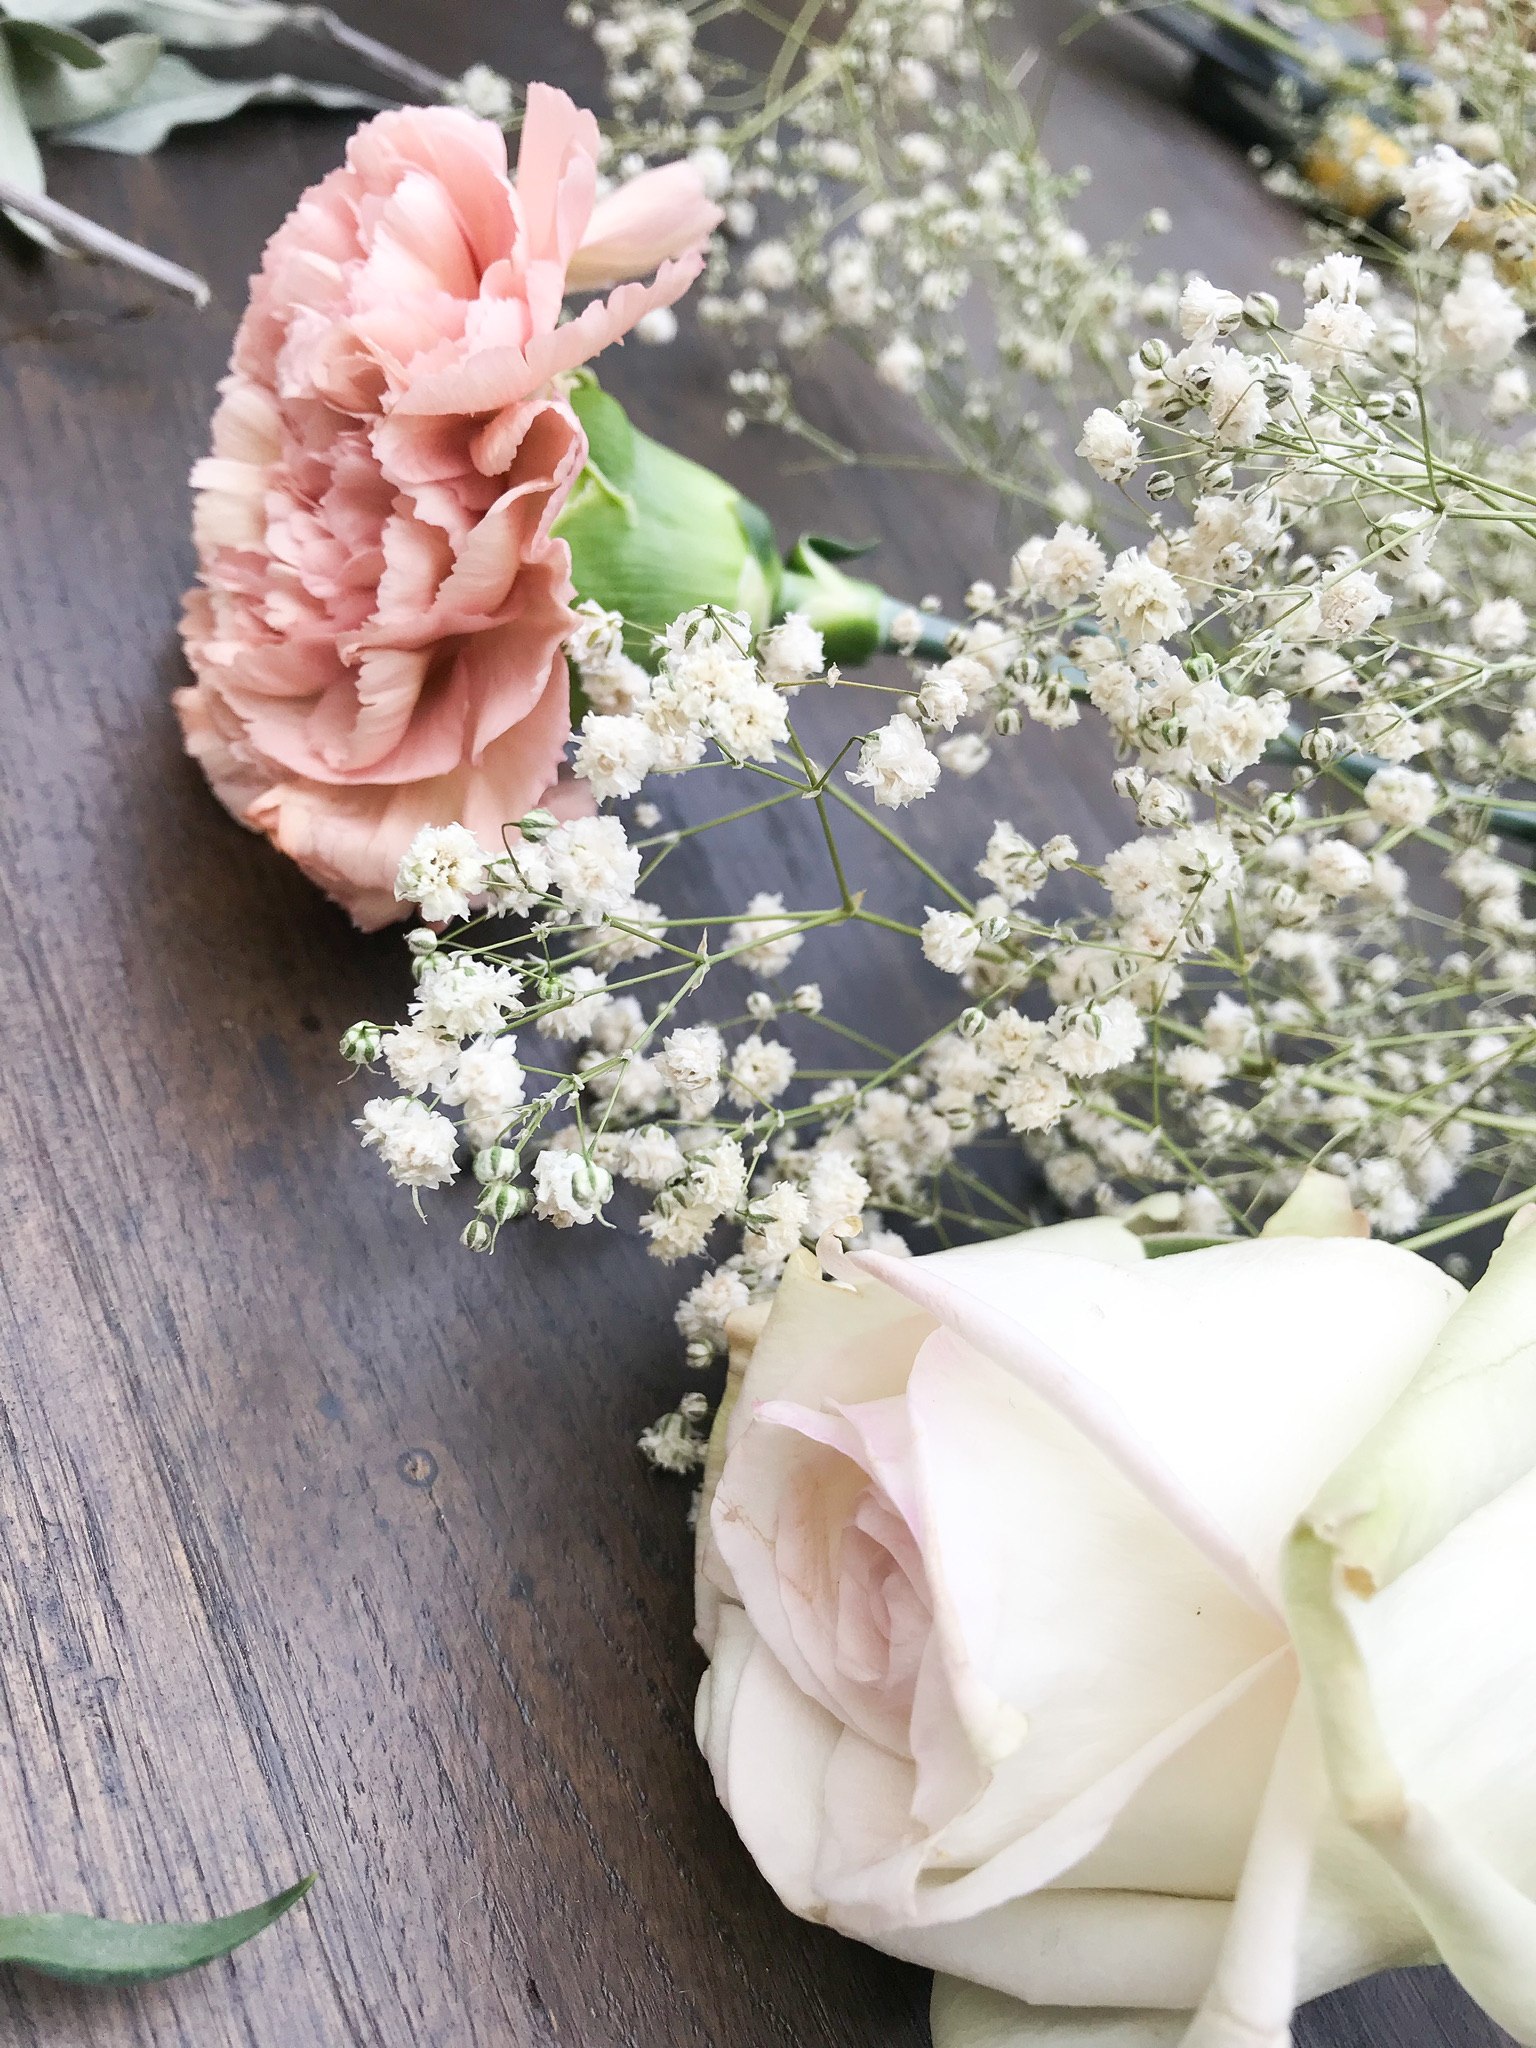
Beautiful Flowers
Green Foliage
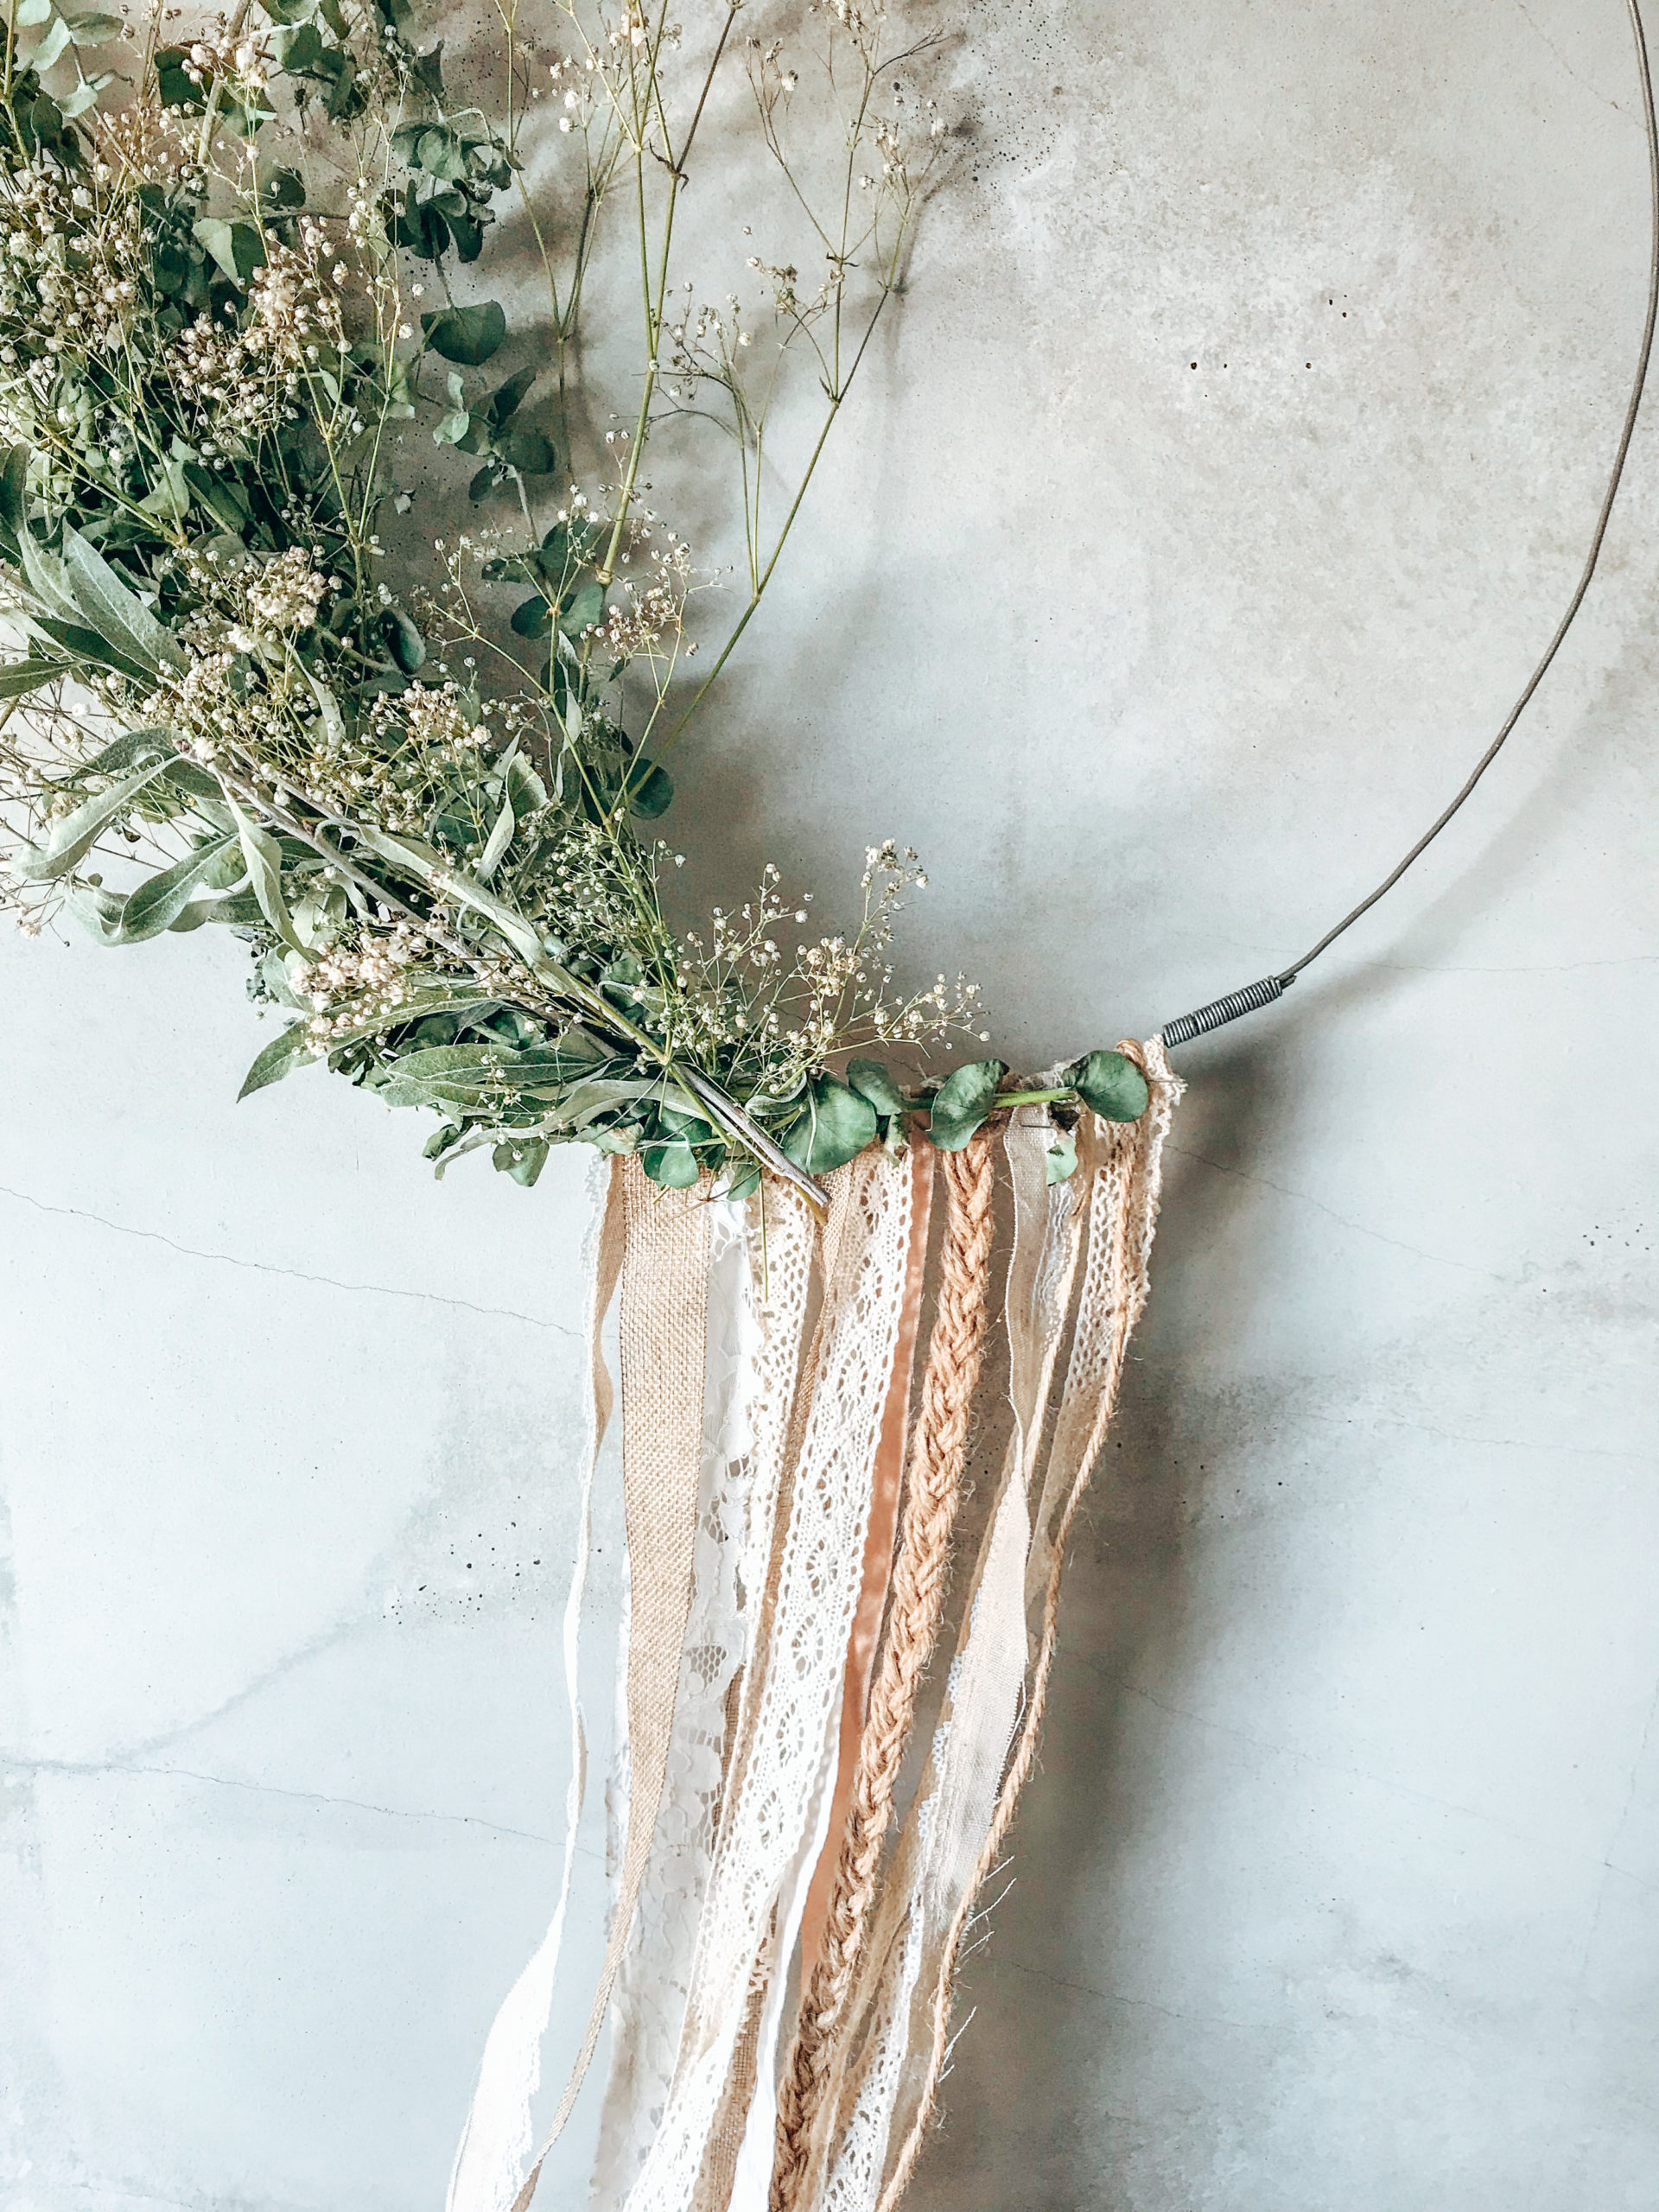
Make A Beautiful Unique Flower Hoop Wreath.
We created these for the wedding, but just think how lovely they’d look in your bedroom & depending on what foliage you use, you can make them to last, for endless joy. And an added bonus, dried flowers & leaves are all the home decor craze right now.
You will need:
- Circle hoops, you can find them in sliver, gold or even wooden bamboo in a variety of sizes.
- Greenery, our personal favorite is eucalyptus as it drys really well & we just love the colour. But there are many other options, go explore your garden or a local florist.
- Flowers – a few great choices for drying, we recommend baby’s breath, hydrangeas & roses. Get adventurous and add dried pampas grass.
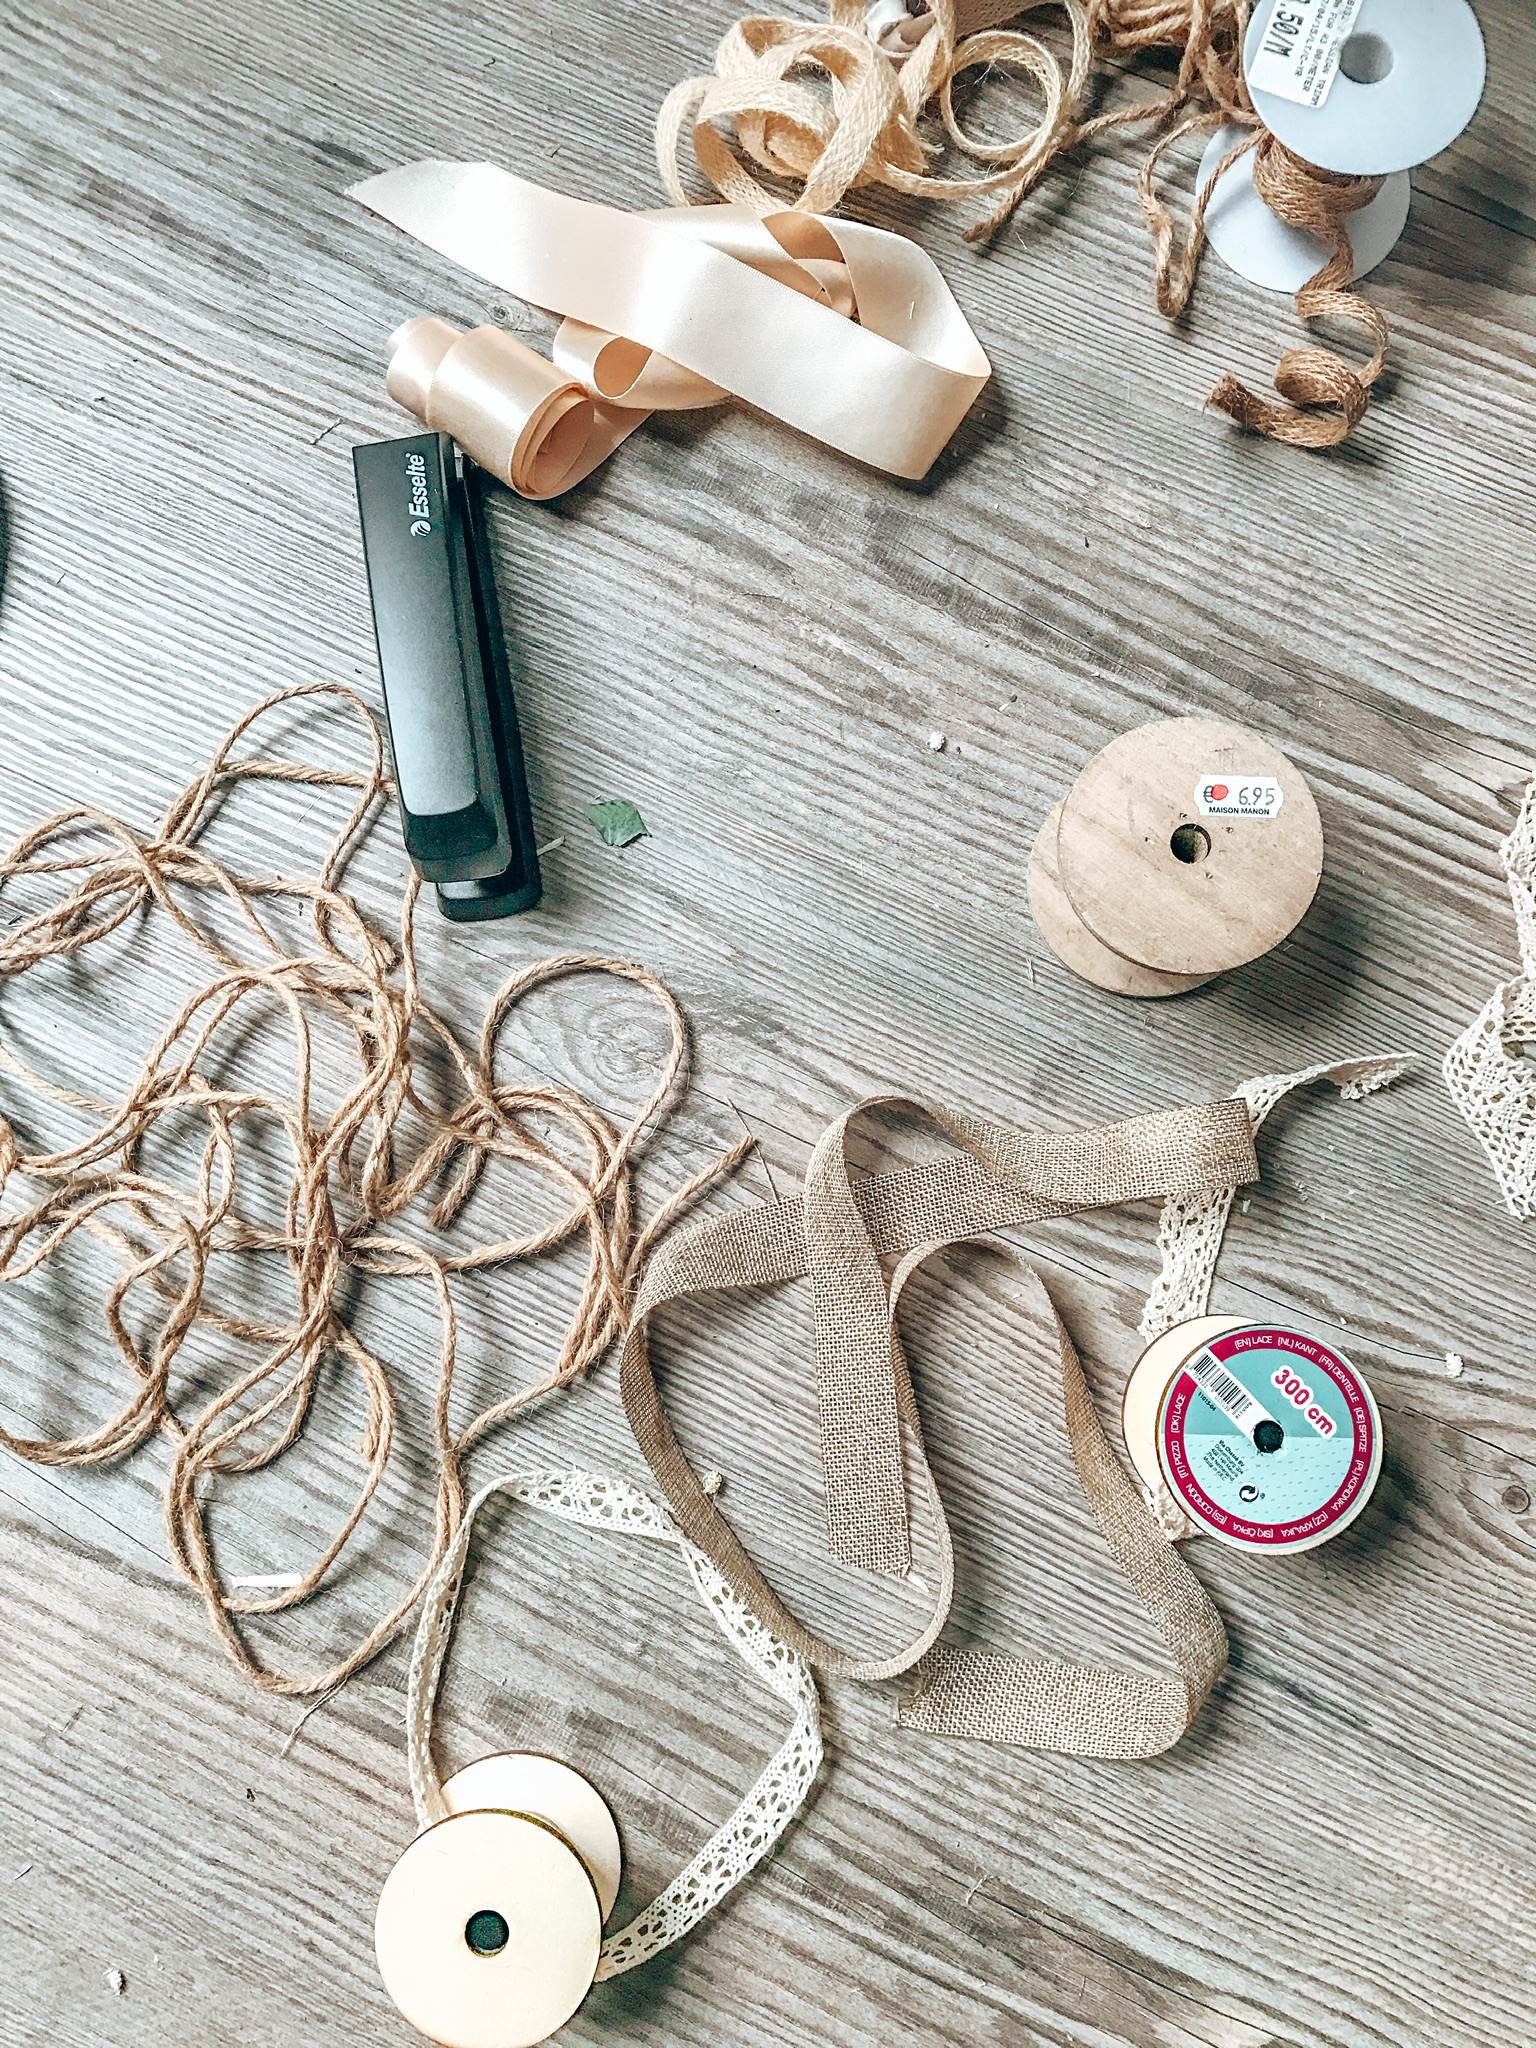
- Ribbon – we added this for a bit of extra fun & texture. Combine hessian ribbons with a silk satin type. We chose natural, earthy tones, but you get creative on your choice of colours.
- Other – Garden pruner or sharp scissors, & a stapler.
- Florist tape & wire or otherwise you can use a home sewing thread preferably in a green colour similar to the leaves.
Directions to creating a flower hoop wreath:
- Get all the items on your list & lay them out on your work station.
- Start by laying your circular hoop down first in front of you.
- If you’d like to add ribbon we would recommend doing so before starting with the foliage, you can double up the ribbon & staple it around the hoop.
- Cut the greenery you’d like to use, use long stems so that they can wrap up the sides of the hoop. Fasten a piece of thread or florist tape to the hoop & wrap it around the leaves to secure the leaves to the hoop.
- Cut short stems on the flowers you would like to use, you should be able to slide the stems of the flowers in between the leaves, again you can run the thread around to secure. Get creative and see what looks good.
- Remember to have fun & enjoy to process.


